
I’ve actually done a couple posts about softcover books on my movim blog, this one and one previous one. The Fully Automated softcovers are a little fancier, but this one I think is a good example of the benefits of being able to just make a book when you want a physical copy.
I have a few advantages in this project: my SO had already bought a bookbinding kit and book which I was able to use, and I have access to a free color printer, and, through my local makerspace, a plotter printer which can print on canvas. Everything else, the graphic design, the interposing, etc, was done using free tools like GIMP, an online pdf cropping website, and https://momijizukamori.github.io/bookbinder-js/.

It looks like one of the advantages of this hobby is suddenly being able to get physical copies of books that aren’t available as anything other than PDF ebooks. I’ve got a handfull of favorite books from various authors which were extremely self-published, sometimes as serial fiction later edited into a PDF. One or two eventually got a limited print run, or the author made it available on a Print-On-Demand site, but at this point, I think I’ve found and bought all of those. That leaves a few that I’m very happy to finally be able to hold in my hands while I read them.
Vatsy and Bruno was one of those. Written in 2010 by Adam “Rutskarn” DeCamp, and published on the old version of https://www.chocolatehammer.org/ , Vatsy and Bruno is a high-strung, noire, dark-comedy-adventure story set in a radio-era city under the thumb of vague oppression. It’s a fun story, and one that feels like it should be typewritten on paper (preferably cheap, grubby, fish-stained paper with some suspiciously blood-like smears).
Making this one actually took a bit more prep work on the files.
I started with the PDF DeCamp released on his website over a decade ago. This, unfortunately, wasn’t really sized or laid out for bookbinding (re. the wide margins, the page size, and all the page numbers being on the right side of the page). I could get really fancy with editing this, but it’s just for me, so “good enough done quick” was the order of the day.
I wanted to print this with no extra trimming, so I planned to use 8.5x11 paper folded in half. Unfortunately, the PDF was, itself, scaled for 8.5x11" paper, and when you fold that in half, the aspect ratio changes. So when I fed the PDF into (the tool I use for interposing the pages](https://momijizukamori.github.io/bookbinder-js) it stretched it vertically quite a bit. It was also showing some fairly large margins, which was unfortunate as those came from the original file. So keeping things “good enough” I threw it into an online PDF cropping tool, cropped it closer to what I’d need, and let it stretch the file a little.
I spent a good bit more time on the cover.
The original covers were also the wrong aspect ratio, but they had almost everything I needed.


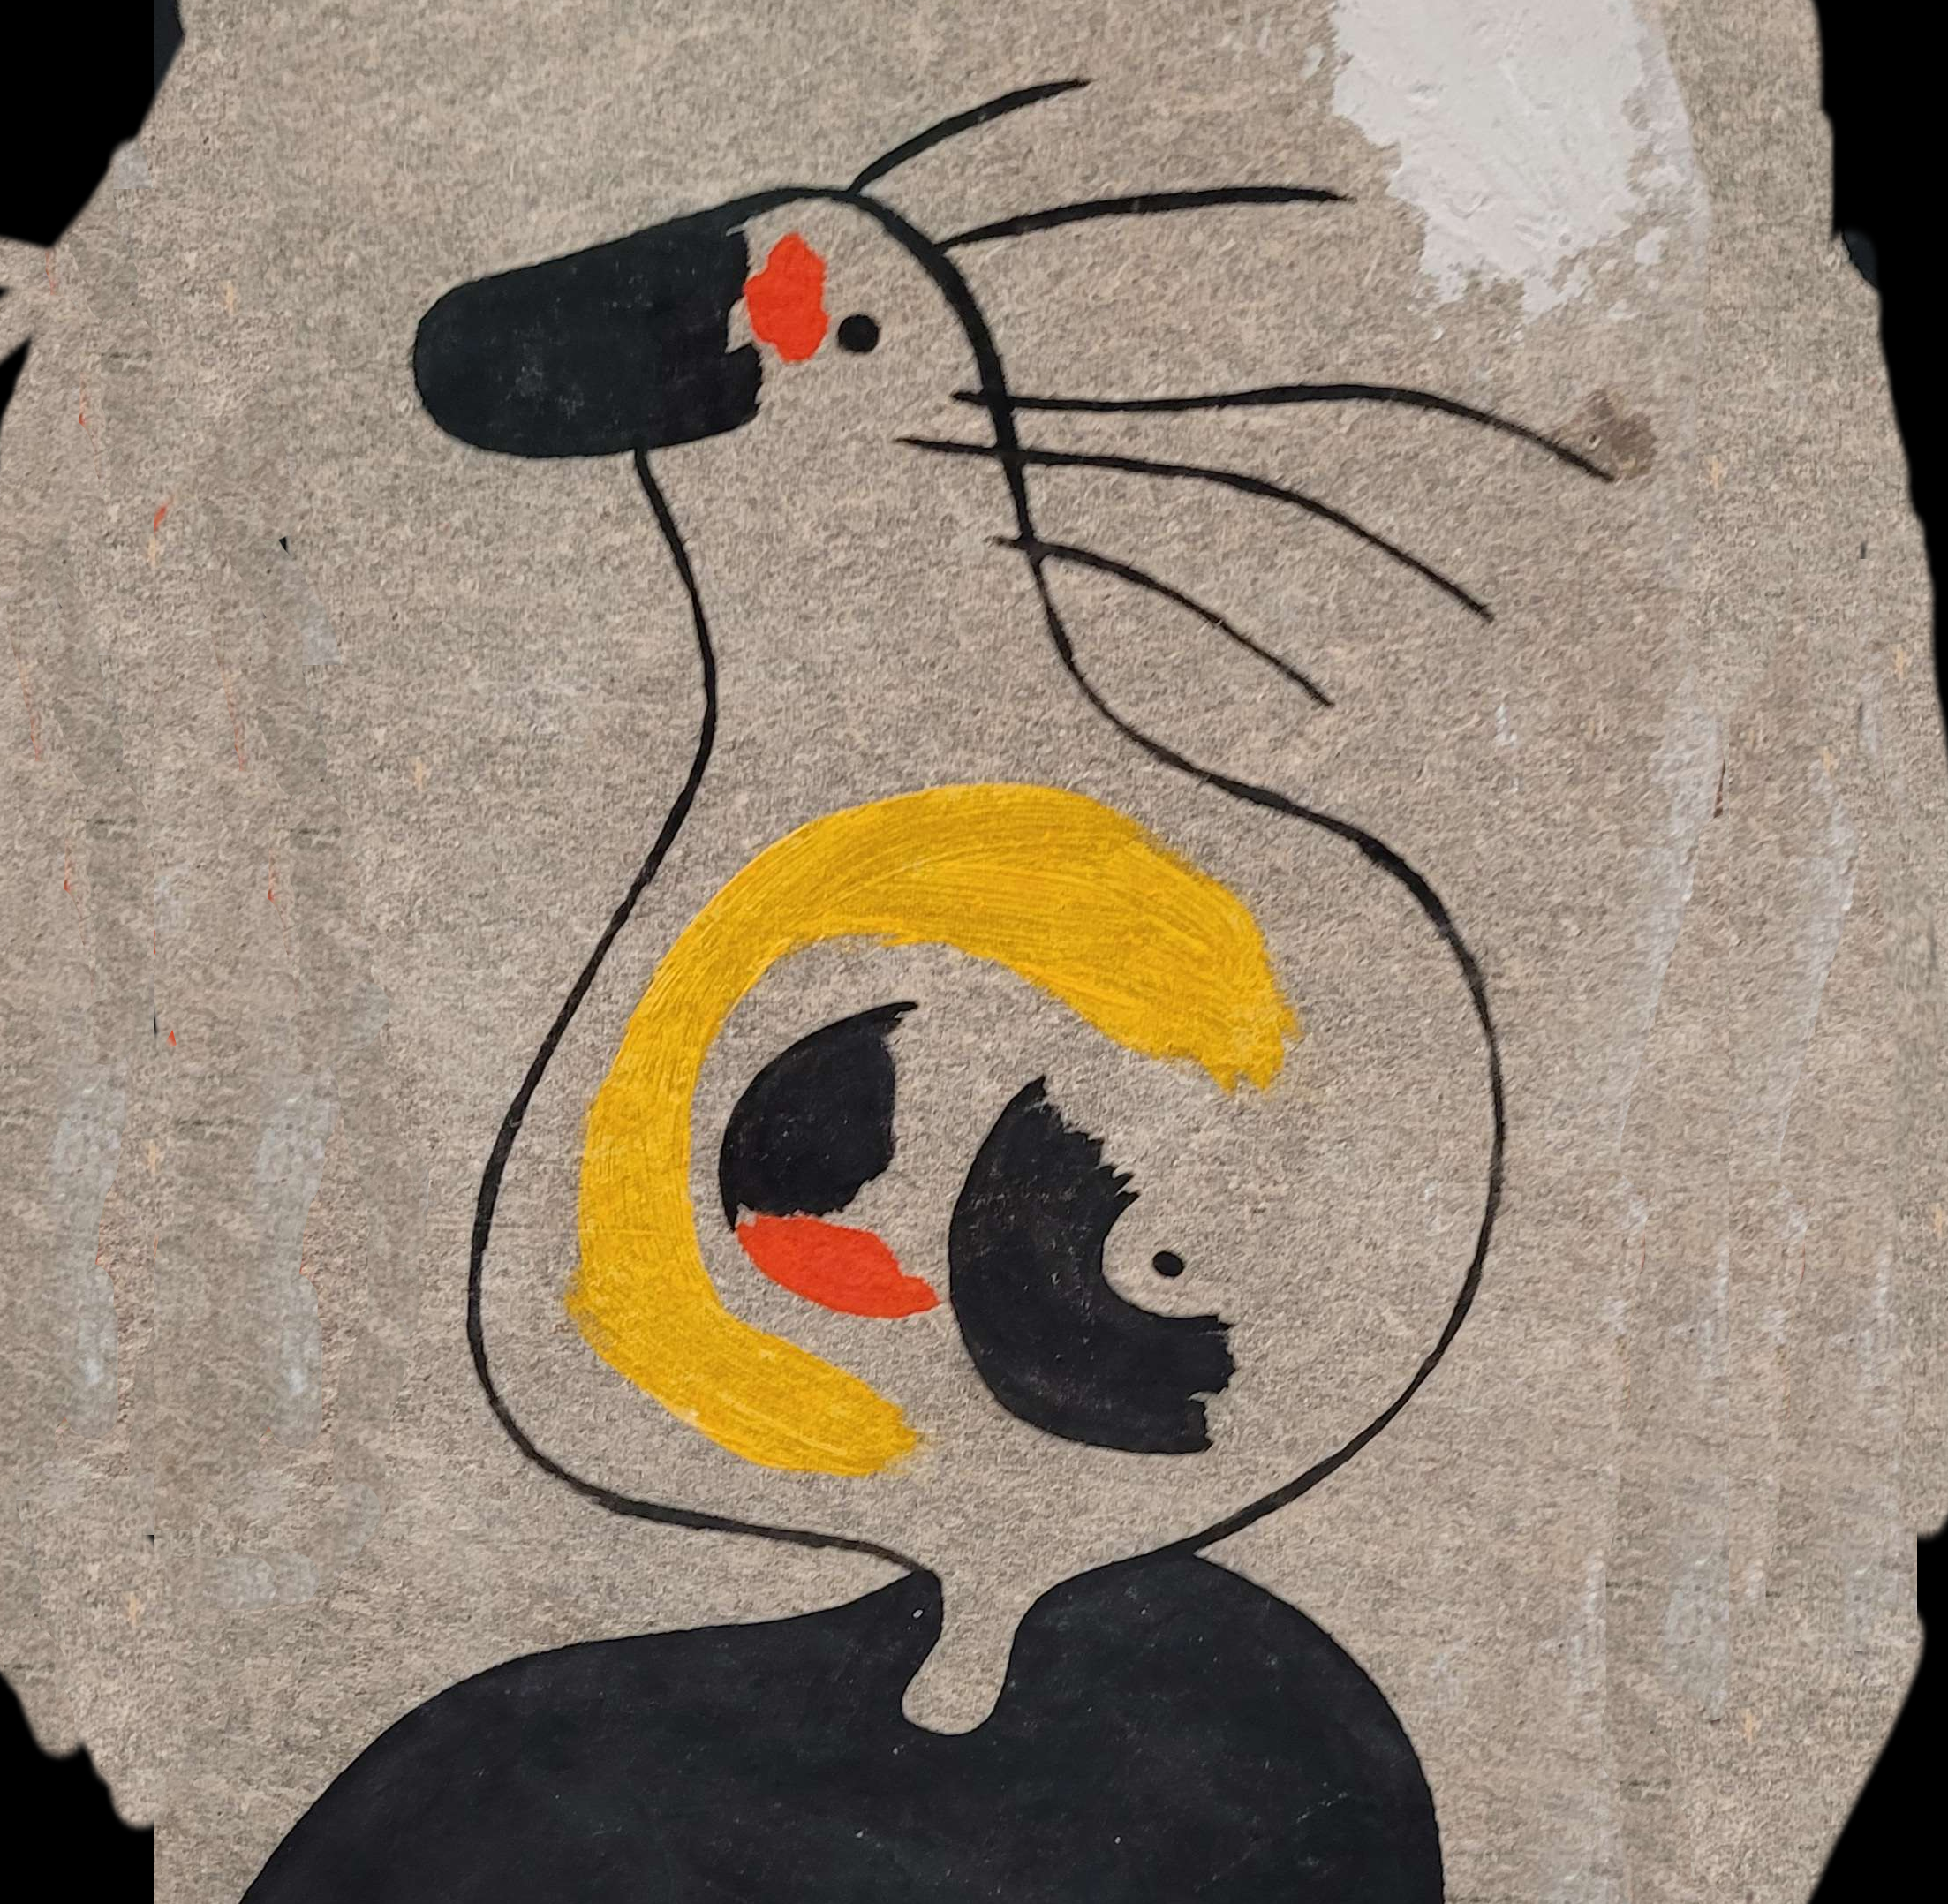
I used them and a cover from one of the three sections the story was originally released in, to bash this together:

The cover, spine, text, and back cover were all made from DeCamp’s own art, just re-arranged to fit this aspect ratio. From there, I followed the same process as before, but with much faster prints (no giant backgrounds) and no trimming the pages (no giant backgrounds) so that part was easy.
Fold, punch, sew, glue:

I took each signature (stack of four pages meant to fold together) and folded each page in half with the bone folder, being careful to make sure I knew which side was ‘in’. Then I nested them together.
I made a guide to lay out the six holes in each signature, and used it to punch holes through the fold with the awl. Then I sewed them together following the Penrose Press Pretty Perfect Paperback Guide:


Once the book block was all tied together nice and neat, I clamped it and glued it with three coats of acid-free PVA glue.

My book clamping station certainly looks ragged enough to do the title characters proud.
While it was drying, I swung by the makerspace and printed the cover. I need to remember to oversize these by a few millimeters, because the first one is always a little small. Ah well, maybe I’ll find someone with a bookbinder’s guillotine someday.
I folded the cover and glued in the book block just like with the previous project.
I find it easiest to attach the cover in three steps, back, spine, front, but I’m sure real bookbinders have better systems. I start with a flat smear of glue down the inside of the back cover, right beside the bound edge and to set the book block down on it. Then I glue the spine with the book upright (this time I tried on top of the bone folder, which has a similar shape). Then I glue the front cover. I squirted some acid-free fabric glue down the spine and used a paperclip to work it further down, to where it hadn’t stuck, and then held it in place by hand for a bit to get a closer fit. I like this stuff, it bonds well and it seems to set much faster than the PVA. This time I also used it to glue the bound edge of the front of the book block to the inside of the cover too, so we’ll see how that works out.
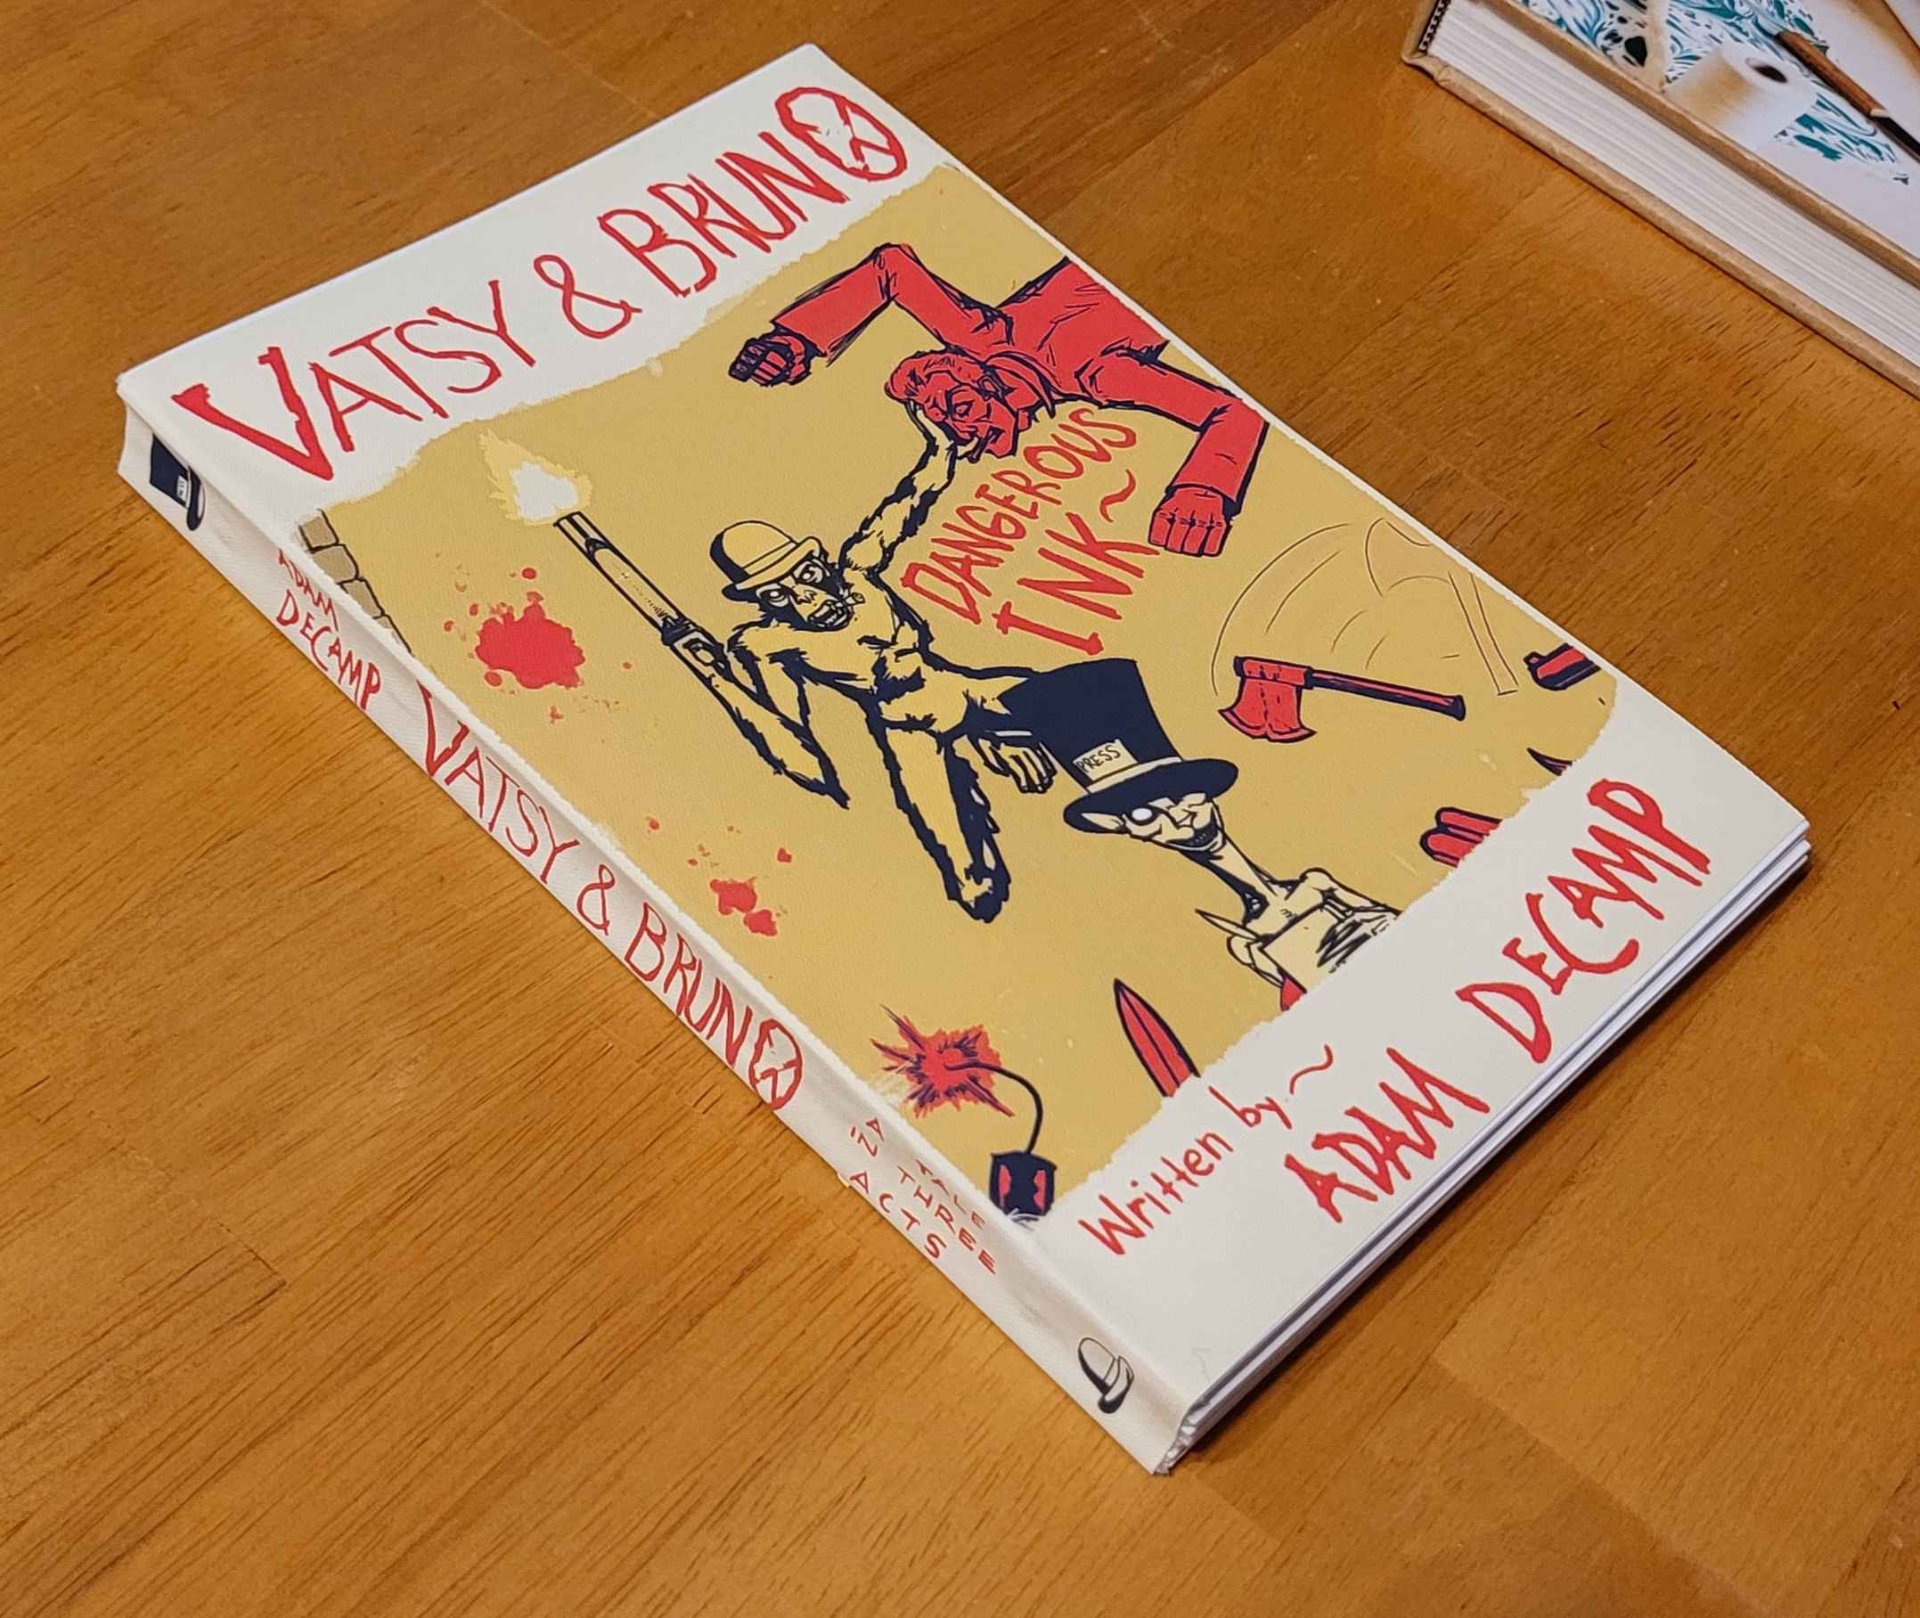
The results:


Cover size aside, I’m pretty pleased with it. If ever there was a book to glue into its cover the wrong way around, this would be it, but I got that right this time. I’m glad to be able to read it properly, and to finally be able to put it on my shelf.
#DIY #bookbinding