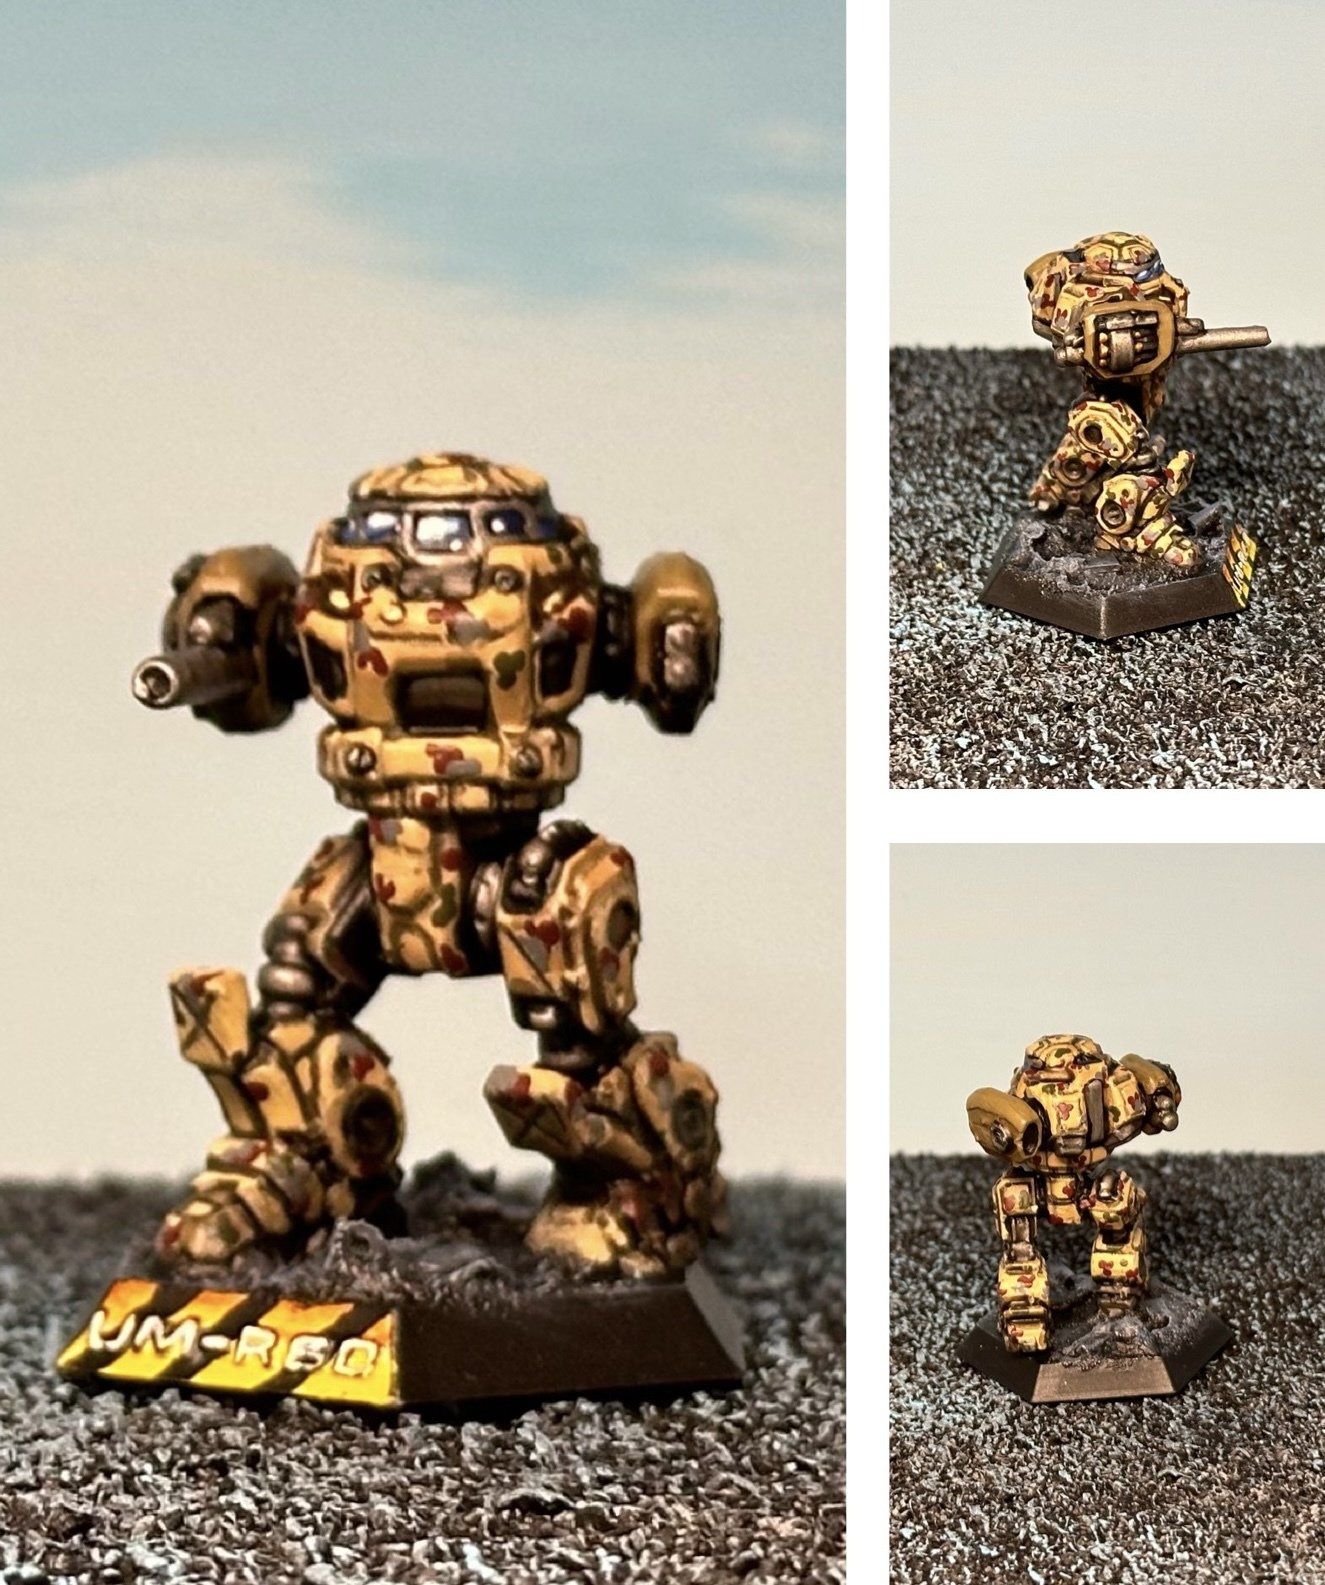
It’s actually (what I consider) pretty streamlined.
The main stage was the drybrush, done with makeup brushes. Made sure to make it fairly light. Then I reenforced it in critical areas, most especially the head, chest, and upper facing legs with a manual application of color on the panels.
After that the workflow becomes a free flow. The camo pattern was chosen mostly to hide print imperfections, but you could easily just do some selected highlights for a reflective look.
Don’t be scared! Camo, especially a dot pattern adds a lot of colors to a mini. A mech can look great with just a body main color and a highlight color mixed onto it.
Here’s a mini I ultimately went a different direction with, but at this point it just had blue and increasing white mixed in, then white highlights. I swear it’s easier than it looks, mechs are very chunky and angular, which make them wornderful for adding bright highlights. This mech could have easily just been full body blue.
I got an airbrush kit from my wife for Christmas, which I almost didn’t want because now I have no excuse not to jump into my pile of shame. 300+ mechs/armor.


It’s actually (what I consider) pretty streamlined.
The main stage was the drybrush, done with makeup brushes. Made sure to make it fairly light. Then I reenforced it in critical areas, most especially the head, chest, and upper facing legs with a manual application of color on the panels.
After that the workflow becomes a free flow. The camo pattern was chosen mostly to hide print imperfections, but you could easily just do some selected highlights for a reflective look.
The rest is just basic detailing.
The best mech I painted had I think four colors total - I really need to step up my game. Thank you very much for the advice!
Don’t be scared! Camo, especially a dot pattern adds a lot of colors to a mini. A mech can look great with just a body main color and a highlight color mixed onto it.
Here’s a mini I ultimately went a different direction with, but at this point it just had blue and increasing white mixed in, then white highlights. I swear it’s easier than it looks, mechs are very chunky and angular, which make them wornderful for adding bright highlights. This mech could have easily just been full body blue.
I got an airbrush kit from my wife for Christmas, which I almost didn’t want because now I have no excuse not to jump into my pile of shame. 300+ mechs/armor.
I’ll let you know how it turns out…